Roughly one year ago I deployed my dream home network and thought it would be interesting to expand the network to include a virtualization lab for personal as well as work use. In my consulting capacity, I typically have anywhere between 2 and 4 VMs running on my MacBook Pro using VirtualBox. Even with 16 GB of RAM and a 3.1 GHz i7, my system is typically at capacity. Even with this model, I typically have to stop some VMs so that I can start a different set depending on my active project.
My goal was to free up the system resources on my local machine and shift from running VMs locally to a remote environment. While AWS is great for work (as I do not pick up the bill), it is extremely expensive for personal use. Naturally, this left me to find a low cost hardware solution and run my own virtualization stack.
Virtualization Hardware
The requirements for virtualization hardware are pretty simple:
- Ensure that the hardware you intend to use has virtualization support in the CPU (i.e., Intel VT-x).
- Ensure that the machine provides sufficient CPUs and cores, memory, and disk space based on the number and size of VMs that you expect to run.
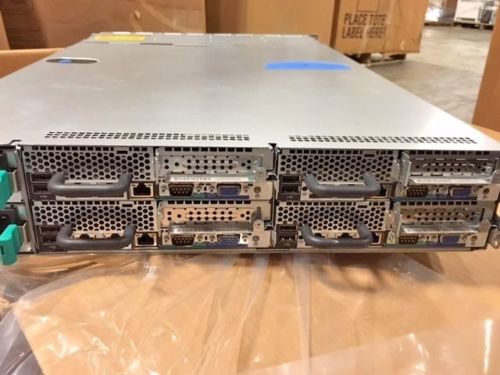
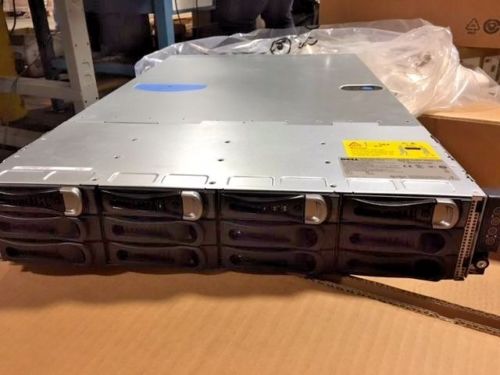
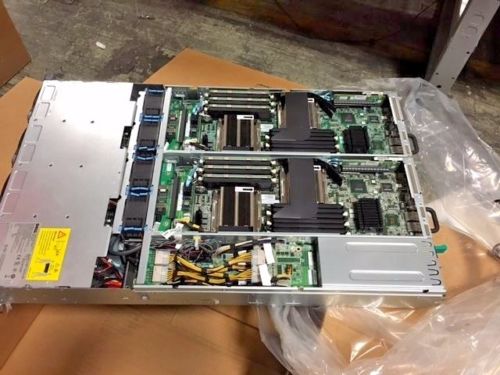
In my case, I wanted to consider an economical solution. My goal was to purchase a used server on eBay for less than $500. After a bit of research, I settled on a Dell C6100 XS23-TY3. These servers are designed to share a common backplane and power to host multiple physical nodes. My configuration came with four (4) nodes, each with the following specifications:
- Node Type: Dell XS23-TY3
- CPUs: (2) Intel Xeon CPU L5520 @ 2.27 GHz with 8 cores
- Memory: 12 GB DDR3
- Disks: (1) 500 GB 7,500 RPM SATA
- Network: (2) Gigabit NICs and (1) management port (KVM over IP)
- Dual power supply
I was lucky to find one that was never used and in the original box for $399.99 USD plus $57 for shipping. Other than being fully aware that this unit was going to be loud, I was excited at the prospect of having 64 cores, 48 GB RAM and 2 TB of storage to solve my VM problem. Additionally, this server could scale in terms of memory and storage down the road.
Virtualization Sofware
With my new hardware on its way, it was time to find a suitable virtualization stack. Given my needs, I set out to find a stack that aligned with the following criteria:
- The virtualization solution had to be light-weight and allow me to fully utilize all system resources on the Dell C6100.
- The virtualization solution should be less than $200 per year in terms of licensing. Ideally, a free, open-source solution is preferred.
- The virtualization solution must work with Vagrant and be capable of remotely provisioning VMs from my Mac.
I evaluated two options: ESXi + vCenter and Promox. Another option was XenServer; however, I did not invest any cycles in an evaluation as Proxmox met my needs after a failed attempt with ESXi + vCenter.
| Virtualization Option | Pros | Cons |
|---|---|---|
| ESXi |
|
|
| Proxmox |
|
|
BIOS Settings
There are a handful of BIOS settings that are needed prior to installing Promox.
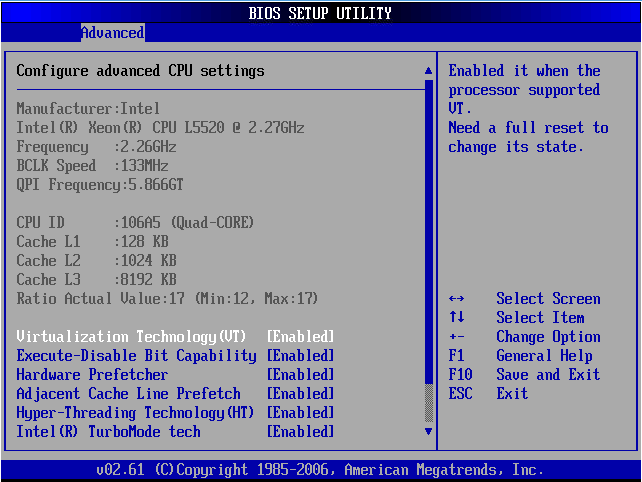
1. Enable CPU virtualization support (Advanced > CPU Configuration > Virtualization Technology (VT).
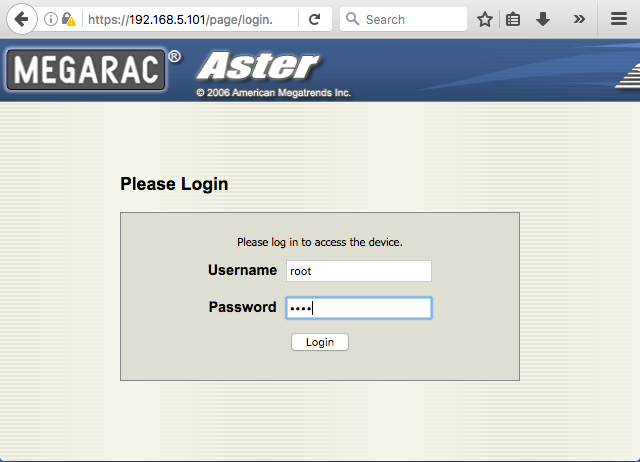
2. Enable KVM over IP (Server > IPMI Configuration > Set LAN Configuration). I used static IPs and reserved four IPs which made it easy to remember the management node: Node #1 - Node #4 (192.168.5.[101 - 104]).
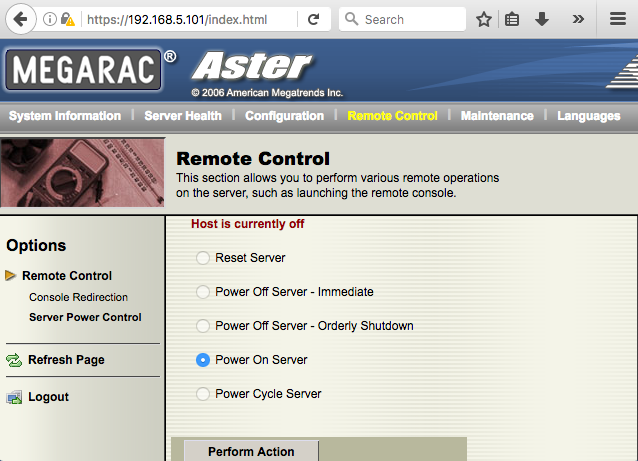
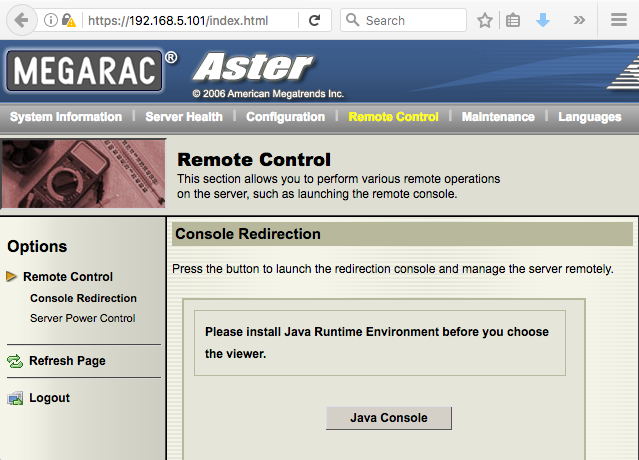
Once these settings were enabled on all four nodes, I was able to remotely access the console and cycle the server using the Web GUI (https://<Management IP>/page/login.html).

Installing Promox
Note: Initially, I started with Proxmox 4; however, I ran into some issues with the vagrant-proxmox plugin and downgraded to Proxmox 3.x. Given that my goal with this virtualization lab was to have a "frictionless tool," downgrading was not a huge deal for me.
1. Begin by downloading the Proxmox 3.4 ISO.
2. Create a bootable USB stick. I am an OS X user, so the following instructions are are for OS X. Sorry, Windows users. I'm sure there is some fancy GUI that will accomplish the same task.
$ hdiutil convert -format UDRW -o proxmox-ve_3.4-102d4547-6.img proxmox-ve_3.4-102d4547-6.iso
$ diskutil list
$ diskutil unmountDisk /dev/disk2
$ time sudo dd if=proxmox-ve_3.4-102d4547-6.img.dmg of=/dev/disk2 bs=1m
3. Go into the BIOS and change the primary drive to the USB device (Boot > Hard Disk Drivers). Remember to revert this after the installation. For some reason, this BIOS was a bit odd in that it did not give me the option of booting off USB, then to hard disk. So, I used the workaround of temporarily switching the primary drive.
4. The installation is dead simple and only has a handful of installation screens (e.g., accept the EULA, select target drive, select country/time zone/keyboard and network configuration).
5. After the reboot, go back into the BIOS and change the primary disk drive.
6. Repeat this process for the other nodes.
Remote Power Management
While the Web GUI provides a convenient method for cycling the server, I found it a bit cumbersome to log in, navigate to the remote control section and invoke my desired power operation (e.g., power on, power off, cycle, etc.). Since I am lazy, I came up with a small shell script to do this for me. After all, this thing is loud, pulls a lot of power, and I only need it on when I am working.
Usage
$ ./remote-control.sh
Usage: <Mangagement IP Addres> <Remote Command>
  <Management IP Address>
  <Remote Command> - [on|off|reboot]
Example
$ ./remote-control.sh 192.168.5.101 off
Powering off node: 192.168.5.101
This script is available on GitHub as well as included below.
Conclusion
While this solution for running a home-based, personal cloud stack might not be for everyone, I hope it appeals to those with a similar need to run more applications stacks that can realistically run a single developer workstation. In my next post, we'll go through the process of using a modified version of the vagrant-proxmox plugin to provision OpenVZ containers on our new Proxmox infrastructure.